Welcome!

Greetings, IT Enthusiasts! Welcome to my blog, your go-to destination for all things. Whether you’re a seasoned developer, admin or a curious beginner, we’ve got something for everyone.

I’ll try to provide information and examples in a pill-like form, avoiding unnecessary complications at every level.

Posted in Uncategorized | Comments Off on Welcome!

Install newest gcc on CentOS 7

Enable repository and install newest gcc with following commands.

yum install centos-release-scl
yum install devtoolset-9-gcc devtoolset-9-gcc-c++ devtoolset-9-binutils

Activate it and check version.

scl enable devtoolset-9 bash
gcc --version

For make activation permanent add “scl enable devtoolset-9 bash” to end of the the /etc/profile file.

Ok.That’s it!


Posted in Linux | Tagged , , | Leave a comment

How to disable IPv6 on CentOS 7

We will be disabling IPv6 in kernel module.

First, check IPv6 is enabled or not

ifconfig -a | grep inet6

if you see inet6 in the output, you have IPv6.

Let’s disable it. Edit /etc/default/grub file and add ” ipv6.disable=1″ to GRUB_CMDLINE_LINUX

GRUB_TIMEOUT=5
GRUB_DISTRIBUTOR="$(sed 's, release .*$,,g' /etc/system-release)"
GRUB_DEFAULT=saved
GRUB_DISABLE_SUBMENU=true
GRUB_TERMINAL_OUTPUT="console"
GRUB_CMDLINE_LINUX="crashkernel=auto rd.lvm.lv=centos/root rd.lvm.lv=centos/swap rhgb quiet"
GRUB_DISABLE_RECOVERY="true"
GRUB_CMDLINE_LINUX="ipv6.disable=1 crashkernel=auto rhgb quiet"

Recreate a GRUB configuration file with command:

grub2-mkconfig -o /boot/grub2/grub.cfg

Now we can restart the server and verify no line “inet6” in the ifconfig/ip command output.

init 6
ifconfig -a | grep inet6

Ok, that’s it!

Posted in Linux | Tagged , , , | Leave a comment

How to connect a Windows Machine with Ansible via Winrm

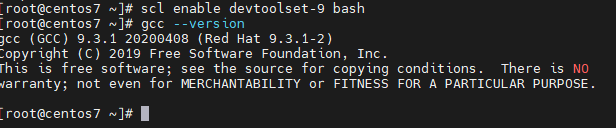
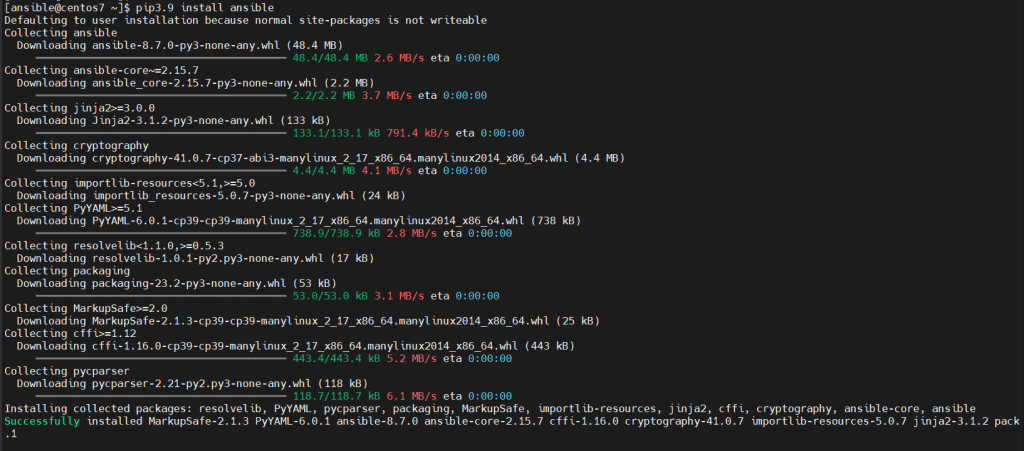
I assume that you have already installed ansible. If not, please check my blog.

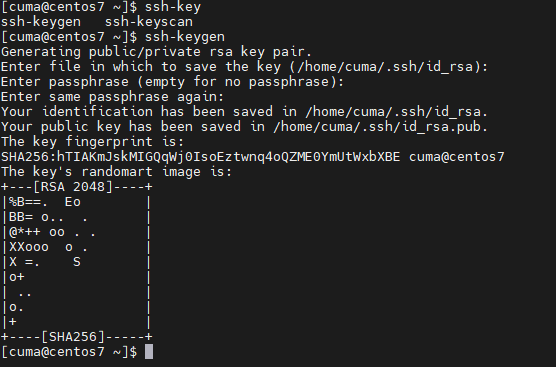
We have a couple of things to do on  both the ansible server site and the remote Windows machine.

Let’s start with Windows machine. With most version of Windows, Winrm ships in the box but not turned on by default.

There is a script you can run on the remote Windows machine in PowerShell console as an Administrator. Please download it from link below. Please “Set-ExecutionPolicy Bypass” before executing the script.

Continue reading

Posted in Ansible | Tagged , , , , , , | Leave a comment

How to Stop/Start Tomcat with Ansible

, I assume that you have already installed Tomcat, Tomcat System Service, and Ansible. If you have not, please check my blog for instructions.

First we need a inventory file. Let’s create /etc/ansible/hosts file copying foloowing lines. You need to use your tomcat sever ip and user information.

[tomcat]
192.168.1.160 ansible_connection=ssh ansible_ssh_user=tomcat ansible_ssh_pass=tomcat

Now we can check the connection

Continue reading

Posted in Ansible | Tagged , , | Leave a comment

Installing Docker and Docker-Compose on CentOS with Ansible

Here is the fresh installation of docker on CentOS. You can change the docker-compose verison to the latest.

Just create a yml file with following lines.

- name: install docker on fresh server
  hosts: localhost
  gather_facts: false
  
  tasks:
    - name: Get some utils installed and repo added
      shell: yum install -y yum-utils; yum-config-manager --add-repo https://download.docker.com/linux/centos/docker-ce.repo
    - name: install docker/git
      yum:
       name:
        - docker-ce
        - docker-ce-cli
        - containerd.io
        - git
       state: latest
    - name: kill firewall
      service:
       name: firewalld
       enabled: no
       state: stopped
    - name: Enable service
      service:
       name: docker
       enabled: yes
       state: started
    - name: Grab docker compose
      shell: curl -L "https://github.com/docker/compose/releases/download/1.27.4/docker-compose-$(uname -s)-$(uname -m)" -o /usr/local/bin/docker-compose; chmod +x /usr/local/bin/docker-compose

Save it and execute like below.

 ansible-playbook install_docker.yml

Continue reading

Posted in Docker, Linux | Tagged , , , , | Leave a comment

SSH Login Without Password

You can login to a remote Linux machine without entering a password.

First, we need to create public and private keys using ssh-key-gen on the localhost.

ssh-keygen


Now, we have two files in the .ssh directory “id_rsa” as private key file and “id_rsa.pub” as public key file.

Continue reading

Posted in Linux | Tagged , , , , | Leave a comment

Configure Tomcat as a System Service in CentOS

If you want to start Tomcat automatically when system boots up, you need to configure it as a system service.

Let’s create a new file tomcat11.service in /etc/systemd/system

[Unit]
Description=Apache Tomcat11
After=network.target

[Service]
Type=forking

Environment="JAVA_HOME=/home/tomcat/jdk-21.0.1"
Environment="CATALINA_PID=/home/tomcat/apache-tomcat-11.0.0-M14/temp/tomcat.pid"
Environment="CATALINA_HOME=/home/tomcat/apache-tomcat-11.0.0-M14"
Environment="CATALINA_BASE=/home/tomcat/apache-tomcat-11.0.0-M14"
Environment="CATALINA_OPTS=-Xms512M -Xmx1024M -server -XX:+UseG1GC"
Environment="JAVA_OPTS=-Djava.awt.headless=true -Djava.security.egd=file:/dev/./urandom"

ExecStart=/home/tomcat/apache-tomcat-11.0.0-M14/bin/startup.sh
ExecStop=/home/tomcat/apache-tomcat-11.0.0-M14/bin/shutdown.sh

User=tomcat
Group=tomcat
UMask=0007
RestartSec=10
Restart=always

[Install]
WantedBy=multi-user.target

you need to set your own environment JAVA_HOME, CATALINA_HOME, CATALINA_BASE, CATALINA_PID and ExecStart,  ExecStop parameters.

After saving tomcat11.service file, we need to reload systemd daemon with

Continue reading

Posted in Linux, Uncategorized | Tagged , , , | Leave a comment

How to install Tomcat 11 in CentOS 7/8

First we need java. Tomcat11 requires Java Development Kit(JDK) 21 or later versions. You can download and install with following link https://www.oracle.com/java/technologies/downloads

After the installaton you can check version.

java -version


Please note that, if you have multiple java installed in your sever. You need to set JAVA_HOME environment parameter to set correct version.

Download the tomcat11 installation file

wget https://downloads.apache.org/tomcat/tomcat-11/v11.0.0-M14/bin/apache-tomcat-11.0.0-M14.tar.gz

After download create tomcat user in linux and copy tar file to tomcat user home directory and change ownership

Continue reading

Posted in Linux, Uncategorized | Tagged , , | Leave a comment

Installing ansible with pip

First, we need to ensure that python3.9 and pip are available.


if not available, please read my install pyhon3.9 post below.

https://blog.innobyte.com.tr/?p=129

if so, pip is available proceed installation step but please note that do not install ansible on root user.

pip3.9 install ansible

Verifying ansible installation.

ansible --version


As you can see, the executable location is under the $HOME/.local/bin directory. You can add it to the PATH environment variable in the bash_profile.

Now, we can create configuration file.

sudo mkdir /etc/ansible
sudo chown ansible:ansible /etc/ansible
ansible-config init --disabled -t all > /etc/ansible/ansible.cfg


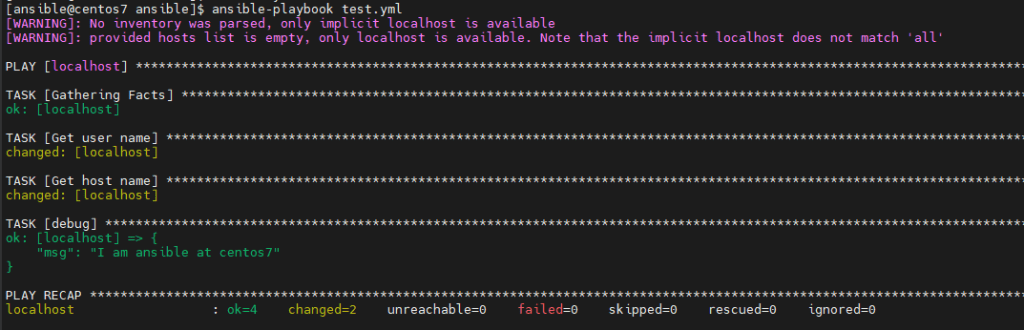
Let’s try a simple ansible playbook to test without creating inventory file. We will be using localhost.

create a test.yml file with below lines and save it.

- hosts: localhost
  tasks:
    - name: Get user name
      shell: whoami
      register: theuser

    - name: Get host name
      shell: hostname
      register: thehost

    - debug: msg="I am {{ theuser.stdout }} at {{ thehost.stdout }}"

 Execute with following command.

ansible-playbook test.yml


Ok, that’s it!

Posted in Ansible, Linux | Tagged , , , , , | Leave a comment

Installing python3.9 and pip on CentOS 7

Firstly, install the requsite packages.

sudo yum install gcc openssl-devel bzip2-devel libffi-devel zlib-devel


Once that is done, download python3.9 or newer version.

wget https://www.python.org/ftp/python/3.9.6/Python-3.9.6.tgz

Extract it.

tar -xvf Python-3.9.6.tgz

Move into the directory and configure with following command.

Continue reading

Posted in Linux, Uncategorized | Tagged , , , , , | Leave a comment